This is a carousel is based on thunbnails slides. Click through thumbnails to jump through slide selection
YoYoFactory
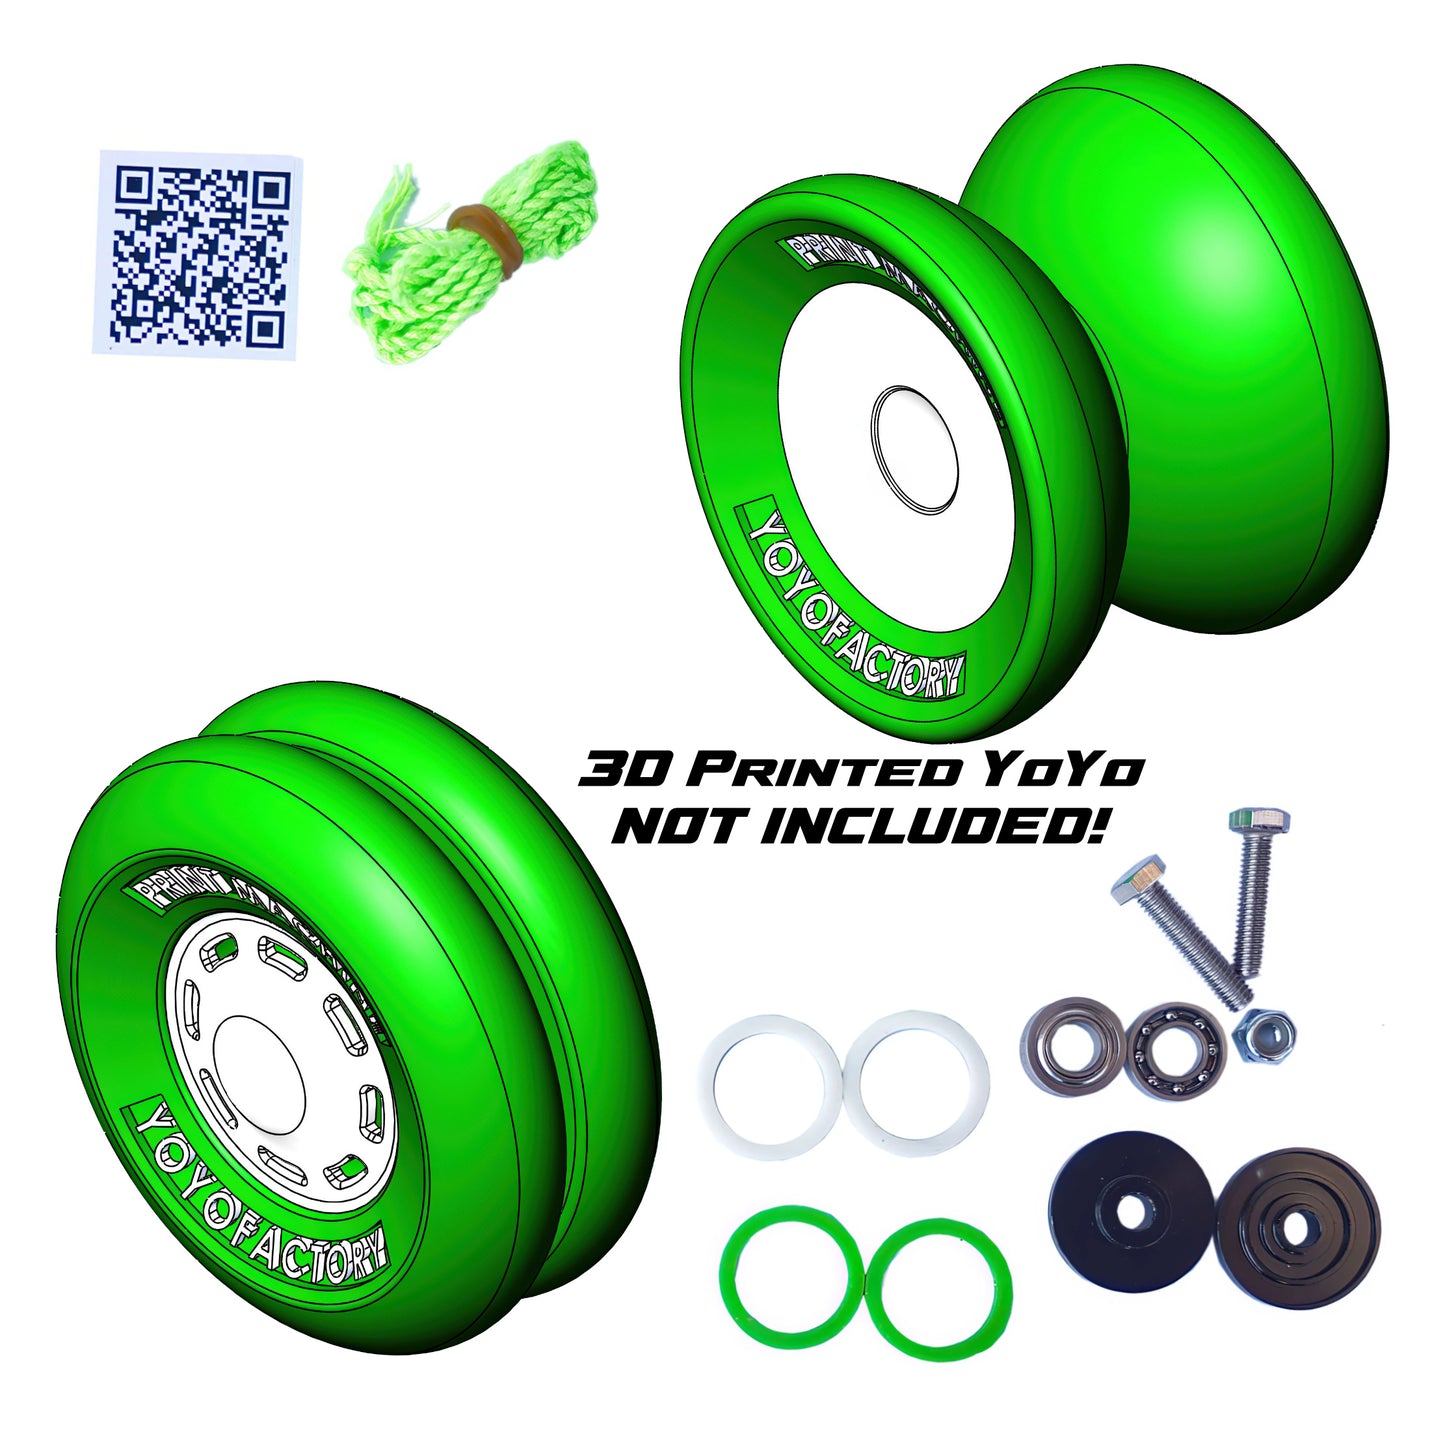
3d Printed YoYo File and Bearing Kit - 3d Printed YoYo NOT INCLUDED
3d Printed YoYo File and Bearing Kit - 3d Printed YoYo NOT INCLUDED
Couldn't load pickup availability
3d Printed YoYo File and Bearing Kit - 3d Printed YoYo NOT INCLUDED
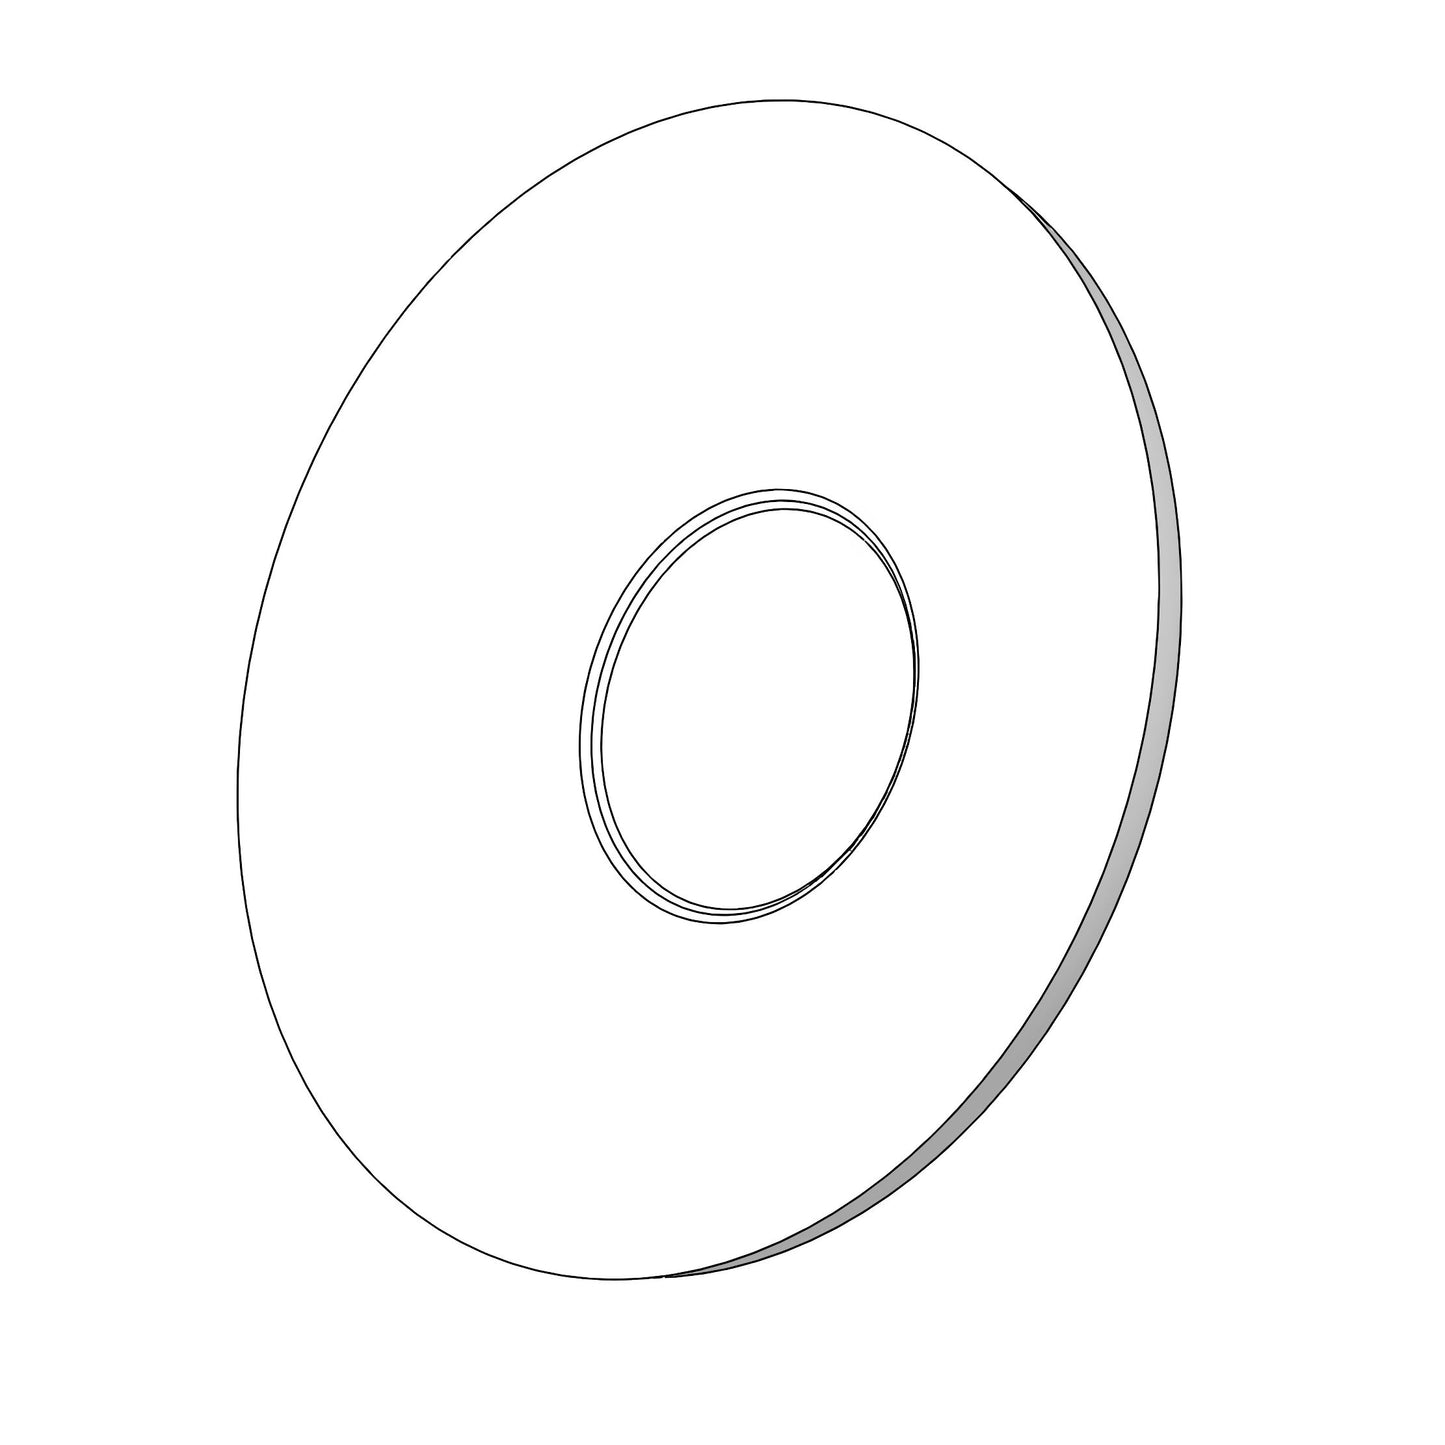
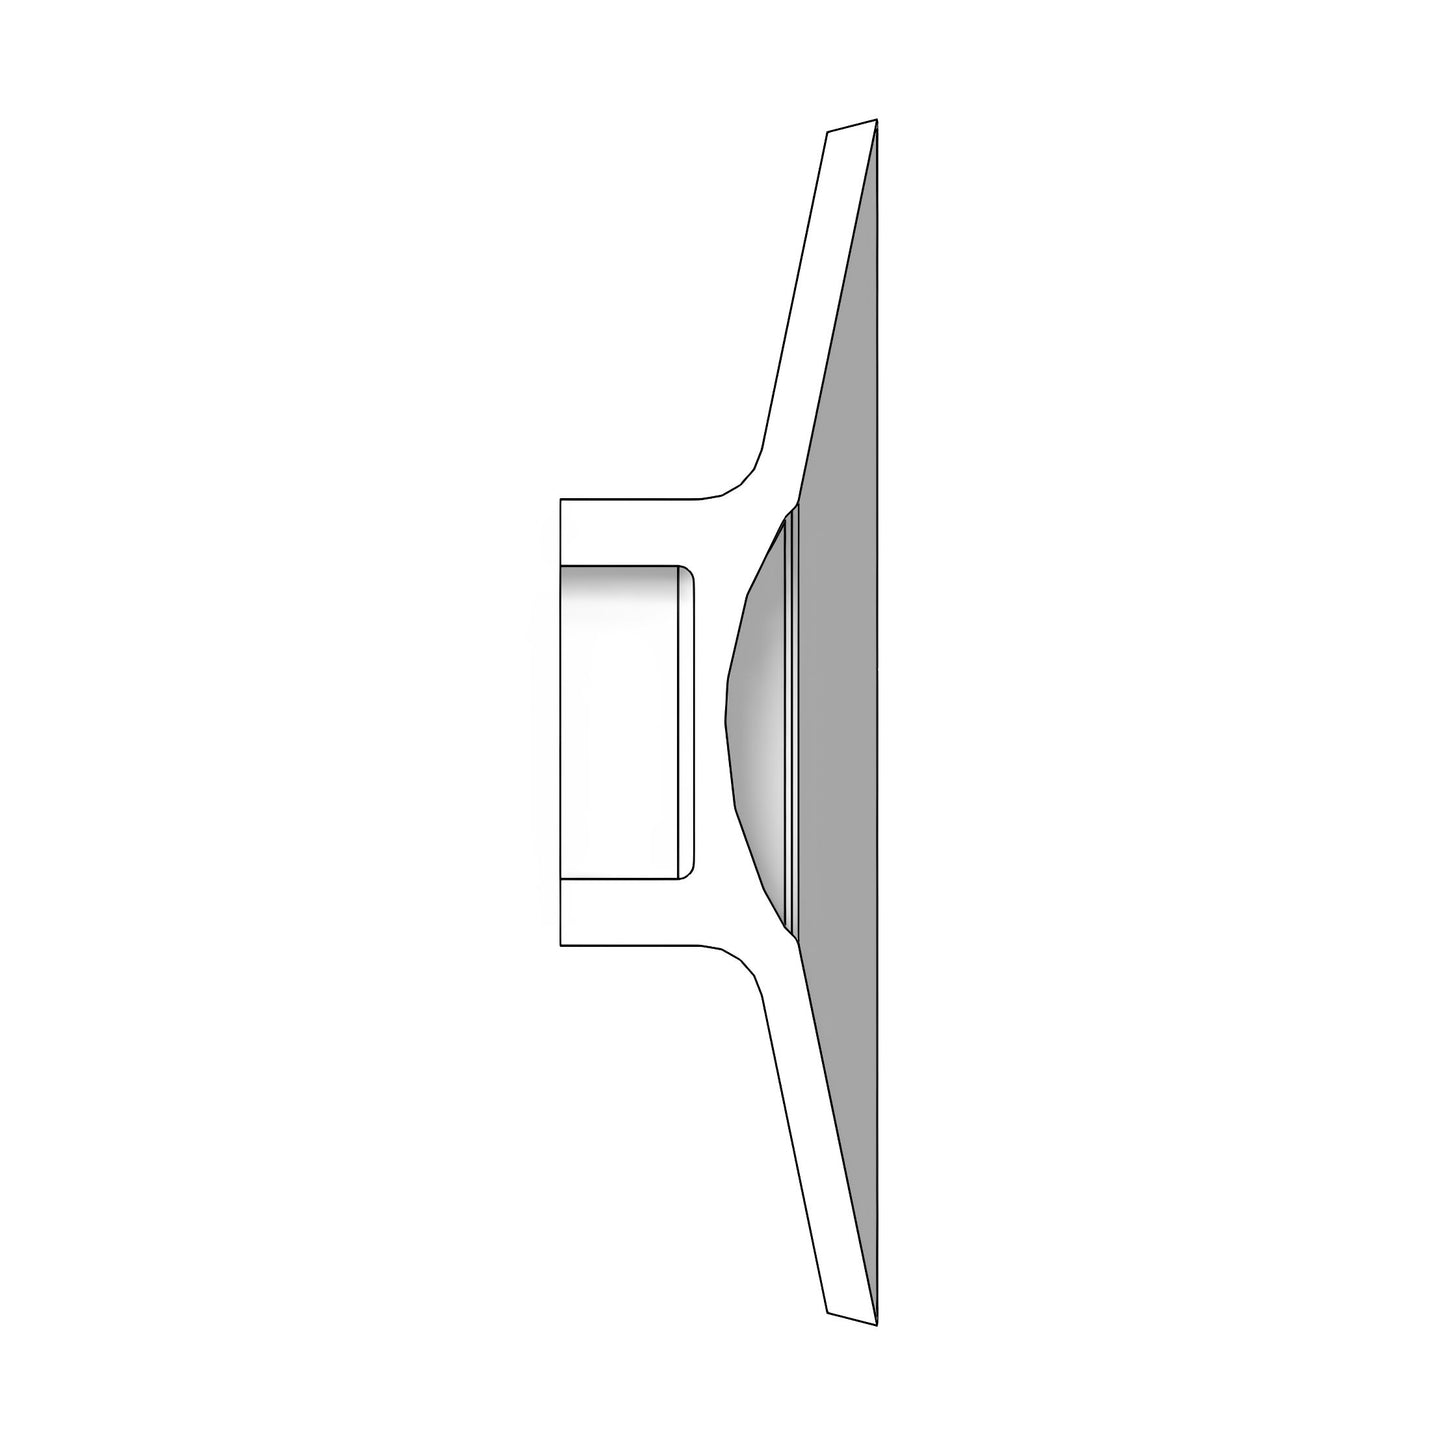
Print your own plastic yo-yo in one of two ways, and make it work with our Bearing Kit.
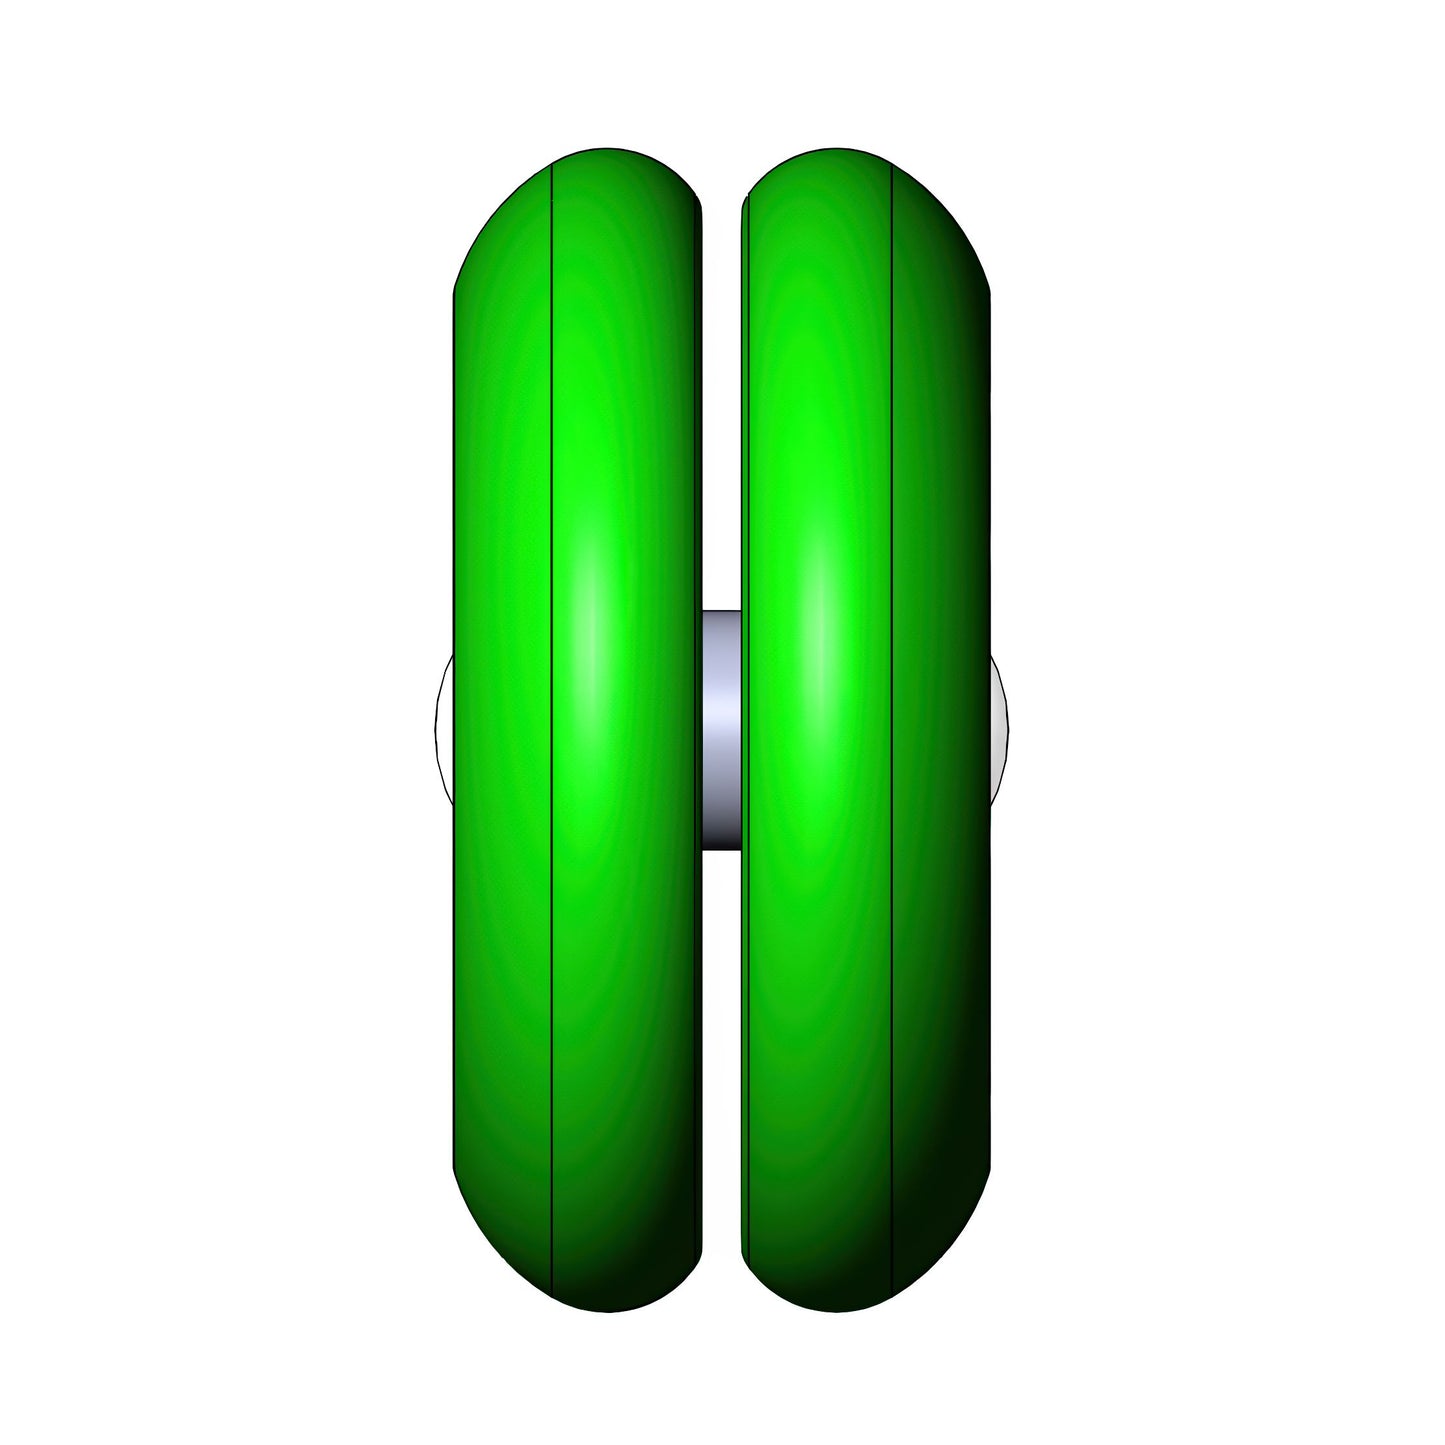
Two Types of Print YoYo:
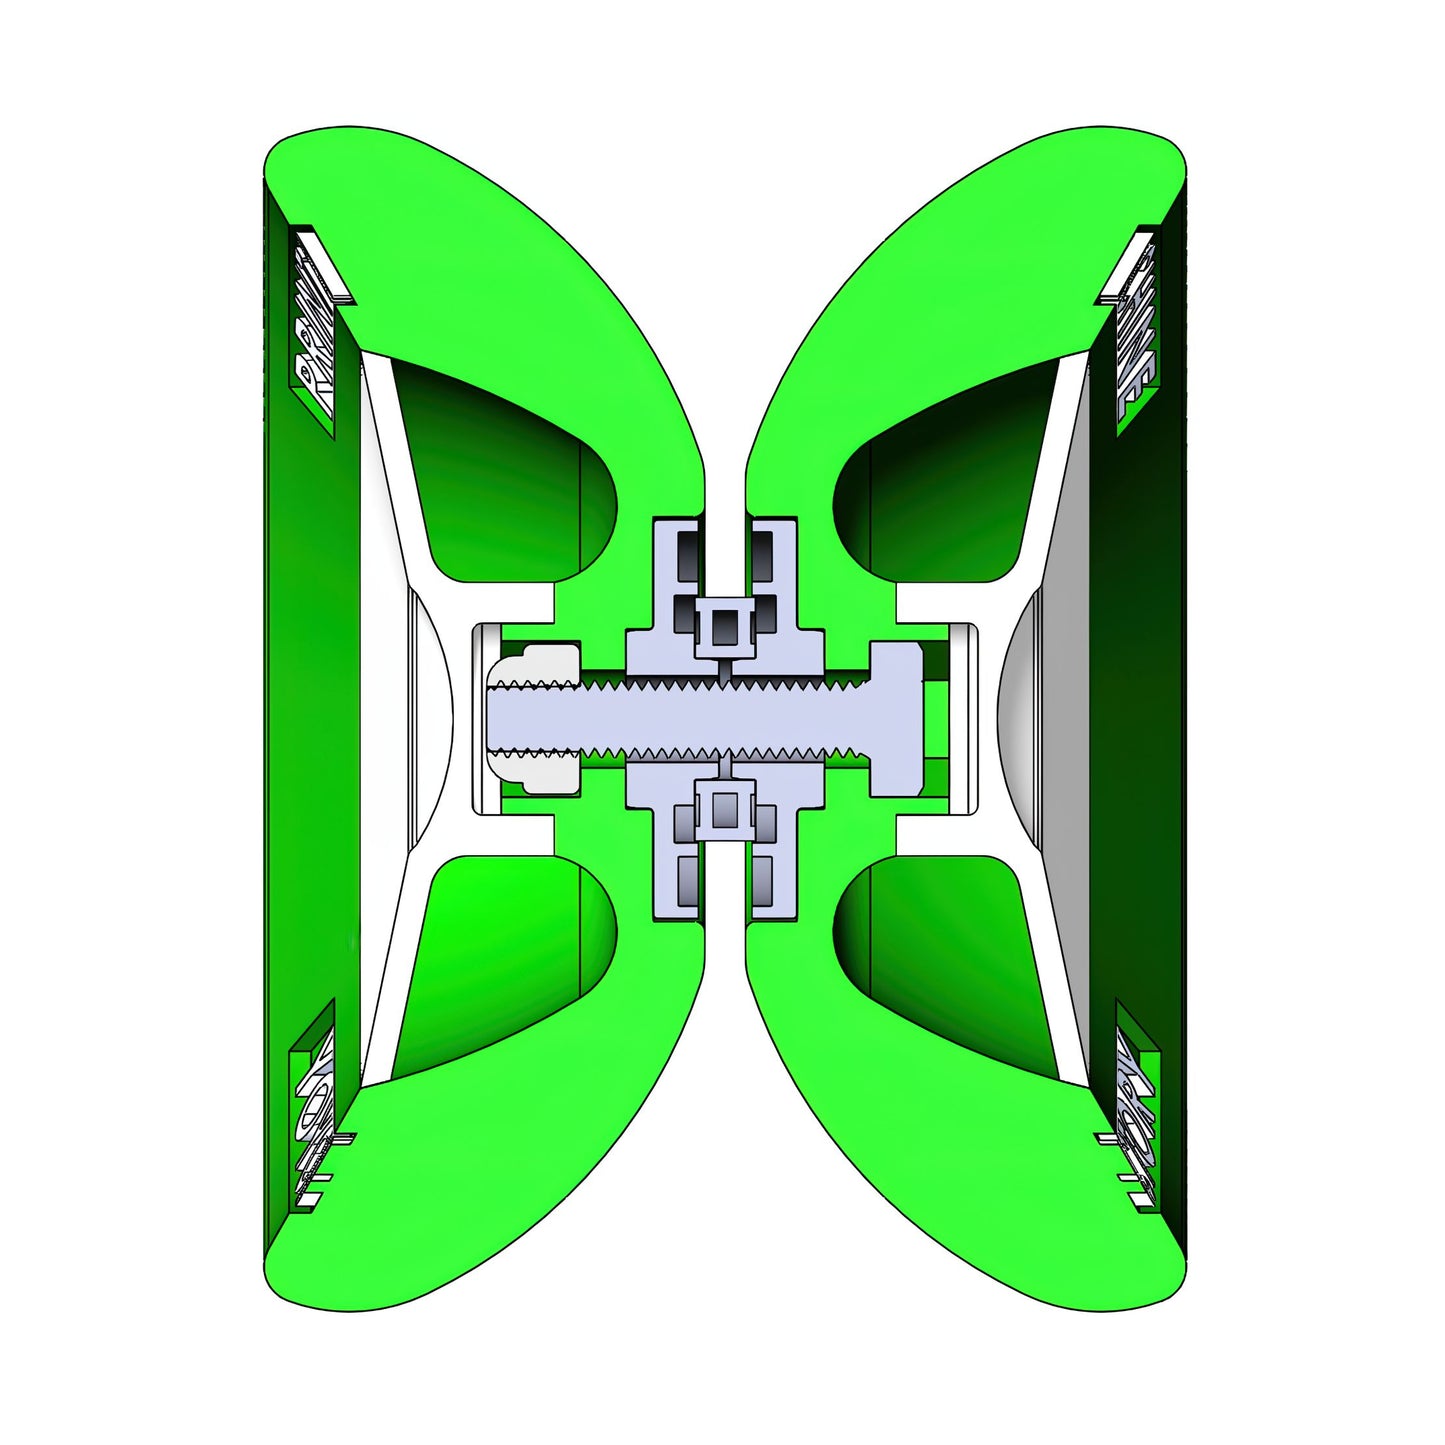
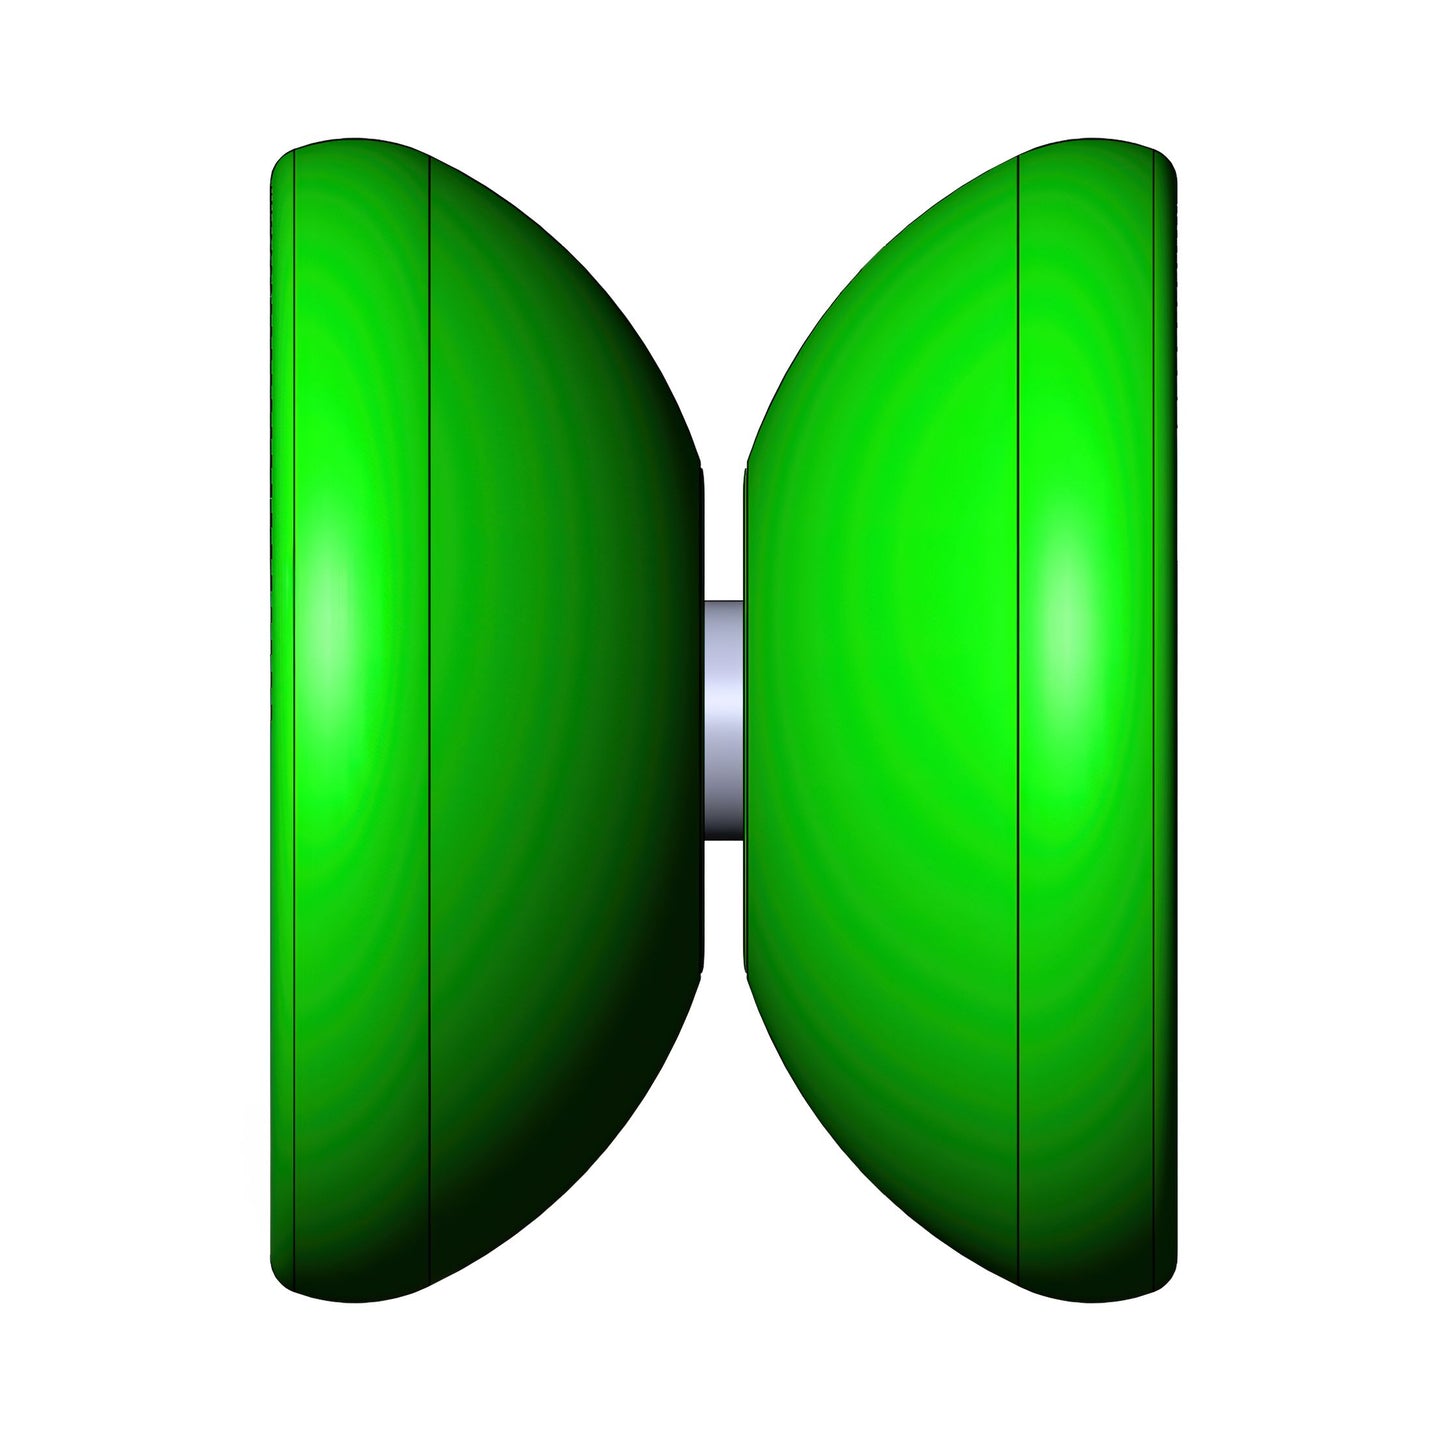
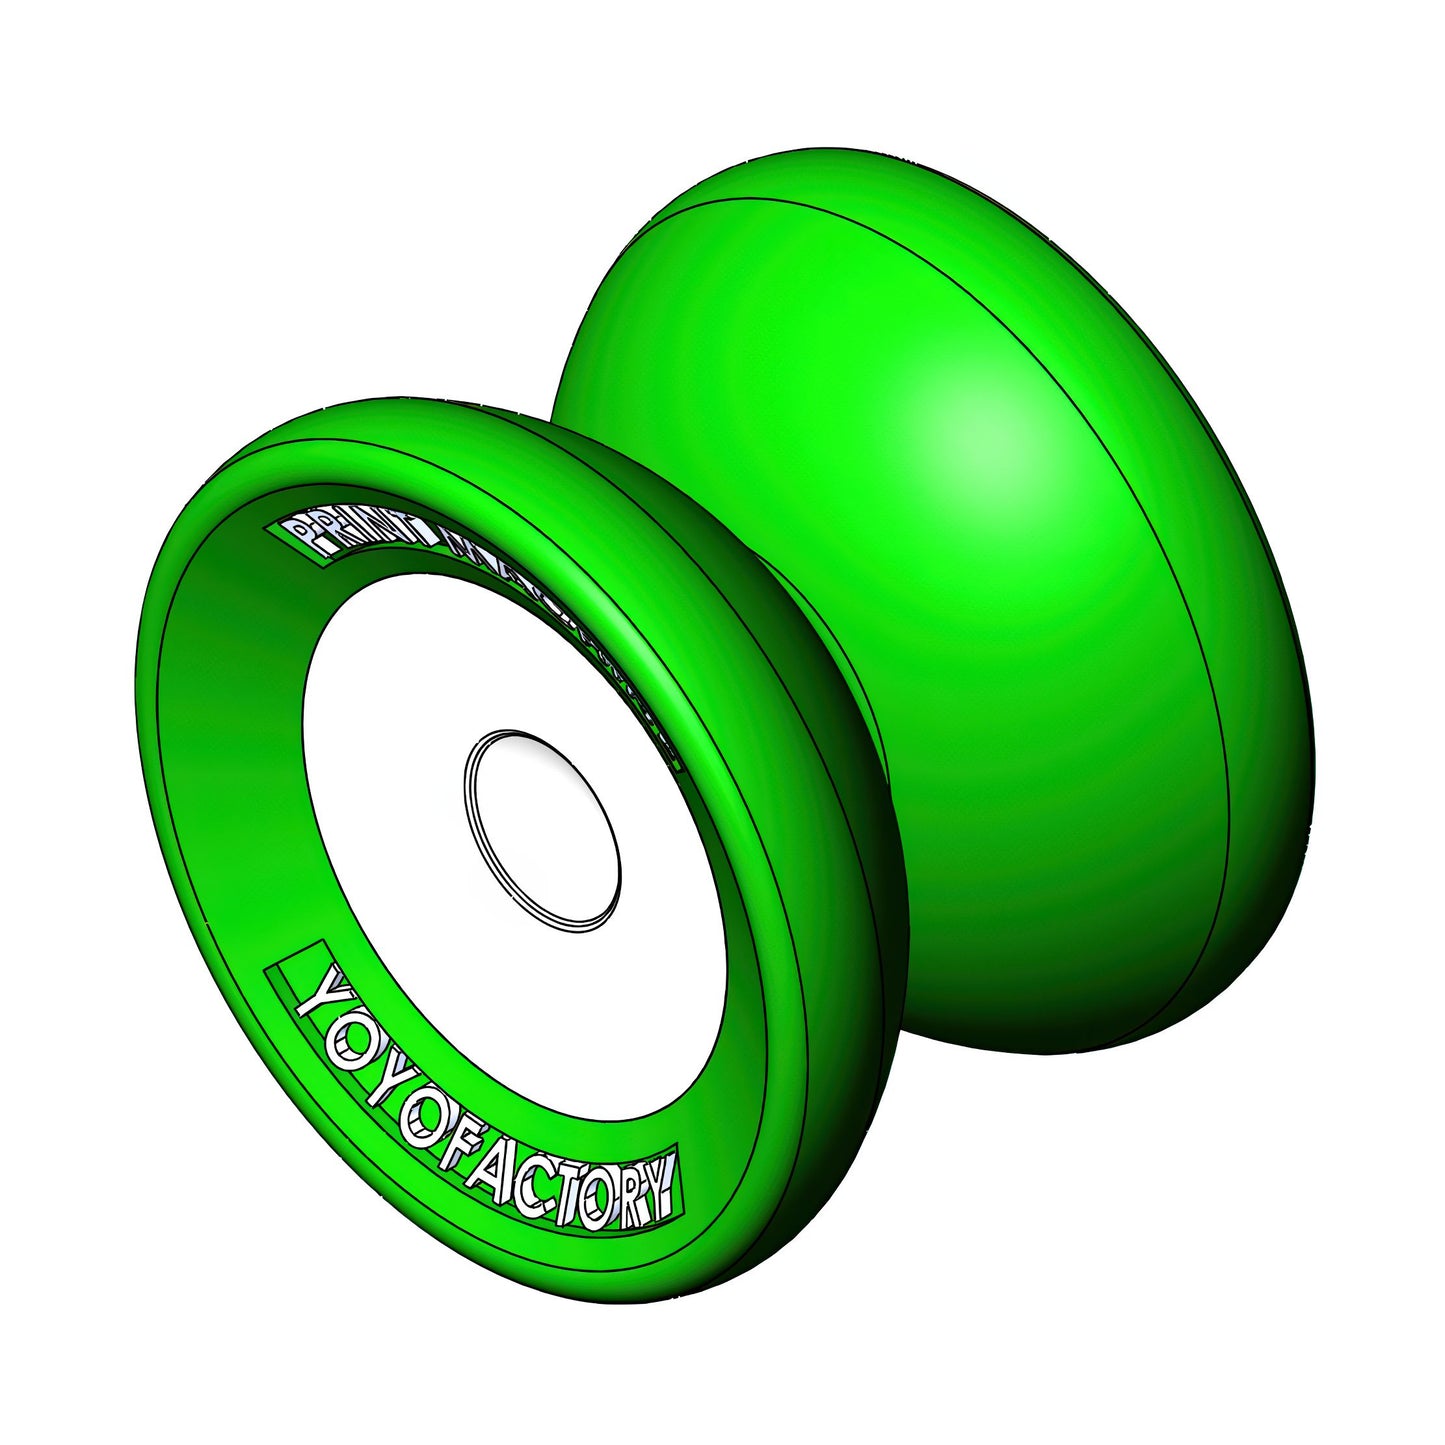
- Looper for looping tricks
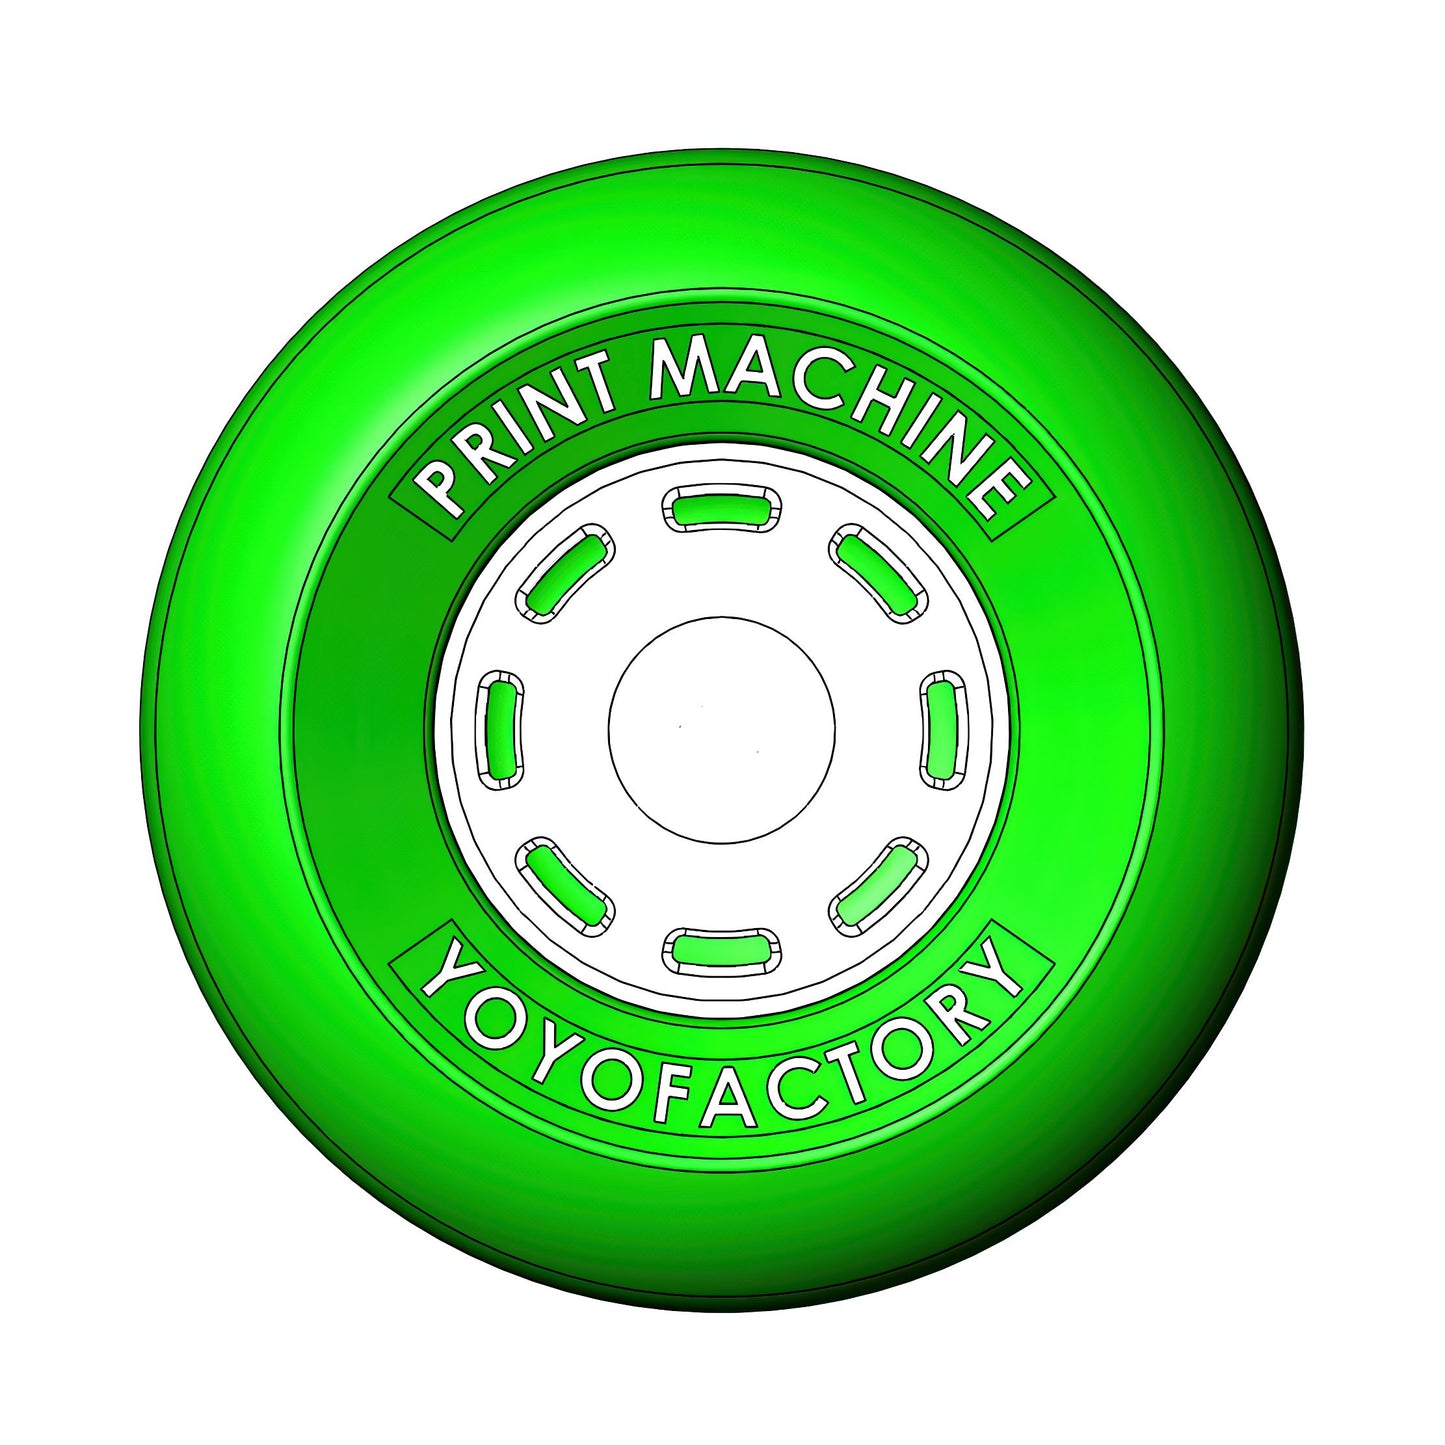
- Wing for Responsive and Unresponsive tricks (depending on which bearing you will use)
Print Files
| Looping YoYo | Wing YoYo |
|
|
|
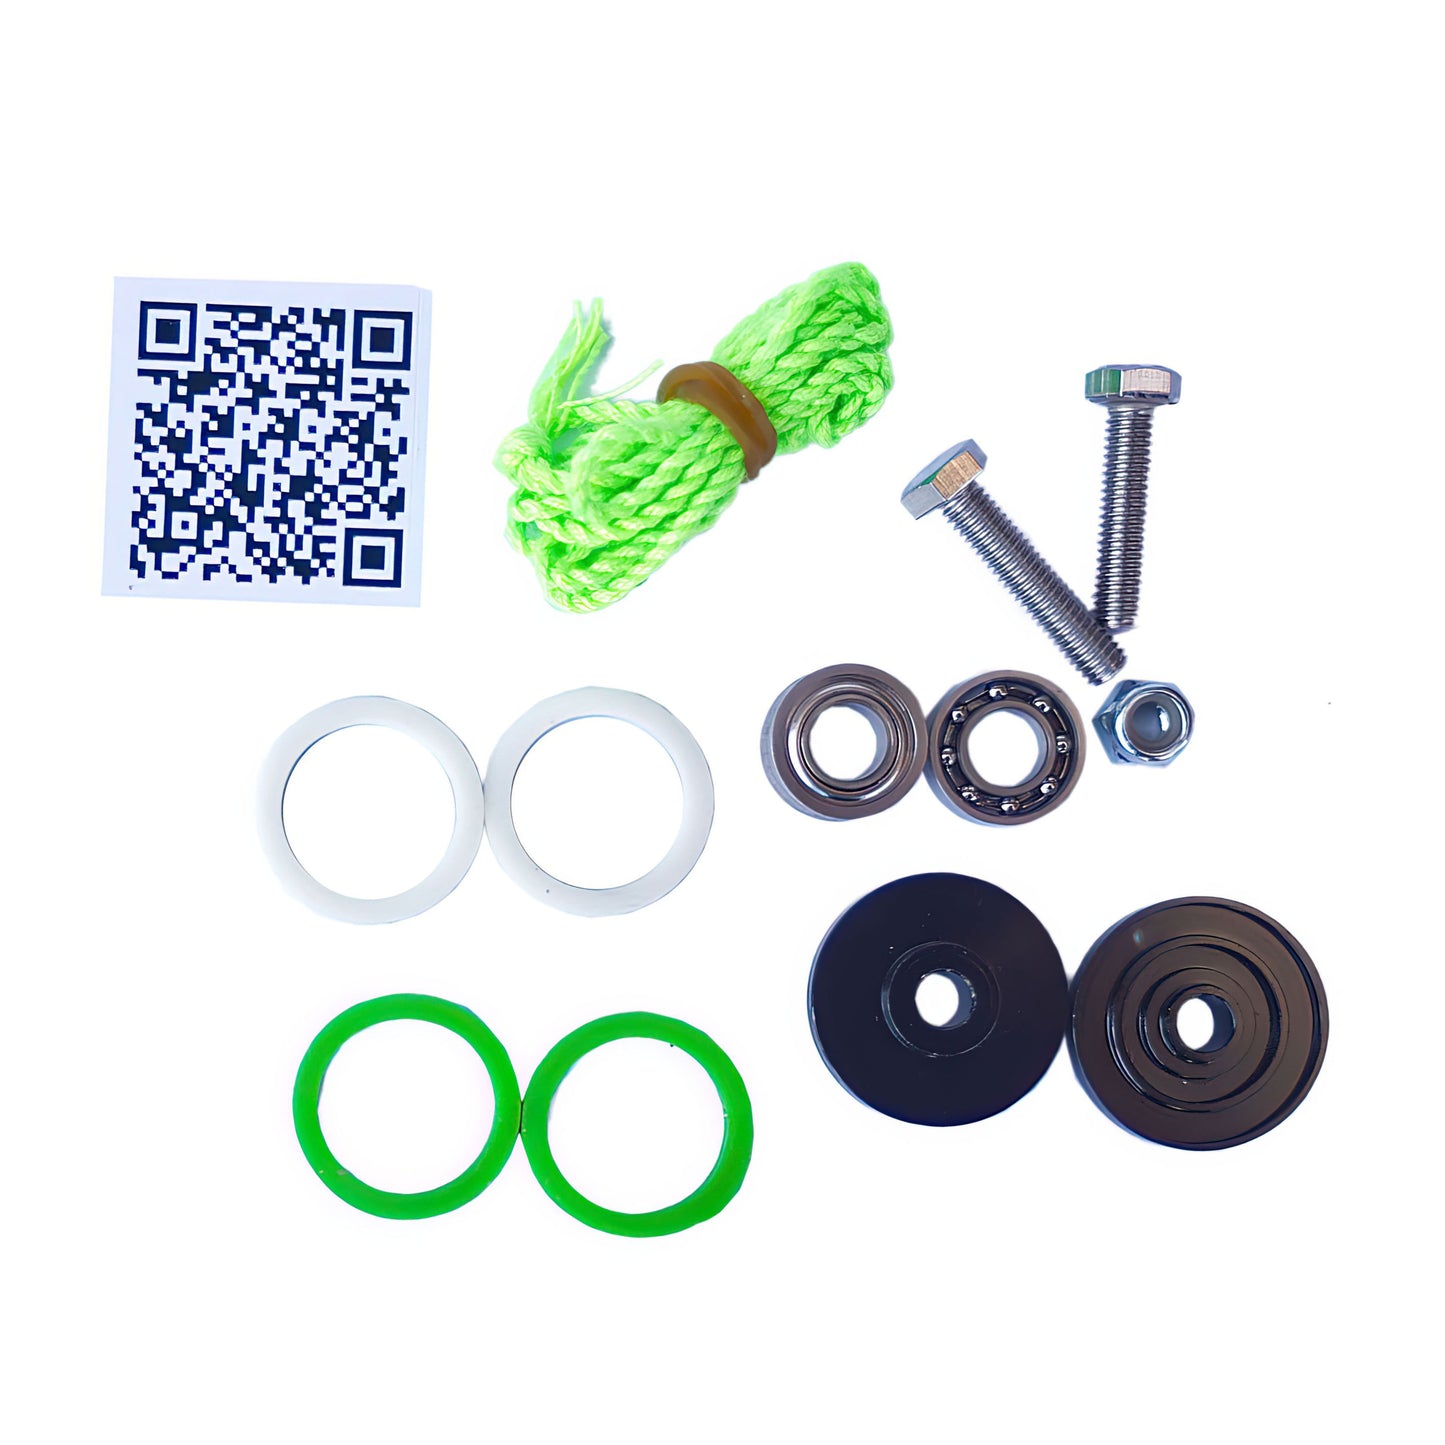
Kit includes:
- String
- Axle screws
- Locking nut
- Unresponsive bearing
- Responsive bearing
- Two types of pads
- Pad mounting plates
Ready to Print?
Here’s a Friendly Reminder:
We love seeing your creativity come to life through 3D printing! While you're welcome to print your own yo-yos using our models, please note that results can vary based on your printer, materials, and experience level. Because of this, we can’t guarantee performance or durability. Have fun experimenting—and share your builds with us!
✨ Note: Finished yo-yos are not included with this kit. To build your own, you’ll need to download the free 3D files and print them yourself. This kit provides the essential parts—like the bearing and string—to get your yo-yo spinning smoothly once it's printed.
🌀 All images shown are computer renderings or examples of yo-yos we've printed. Your results may vary depending on your printer and settings—but that’s part of the fun!
Instructions: (also included in .ZIP Files)
- Download the Zip file with the 3D printed friendly file
- Order our bearing kit
- Print both halves of the yoyo
-
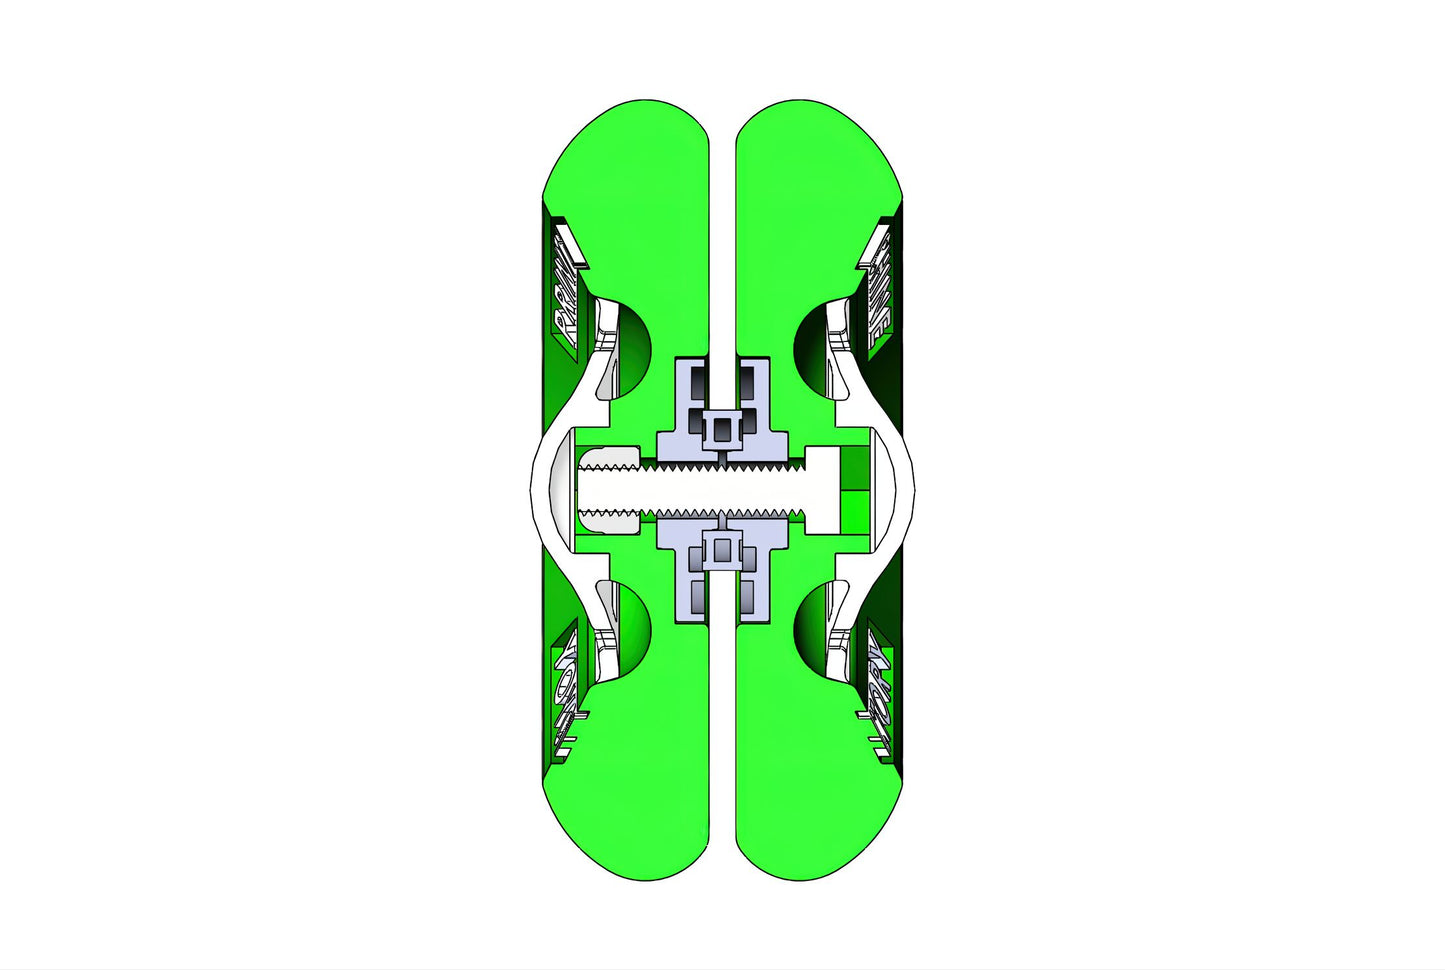
Beginner and looping option - Responsive YoYo:
Use short screw, thin bearing, and Green Pads -
Intermediate and Pro option - Unresponsive YoYo:
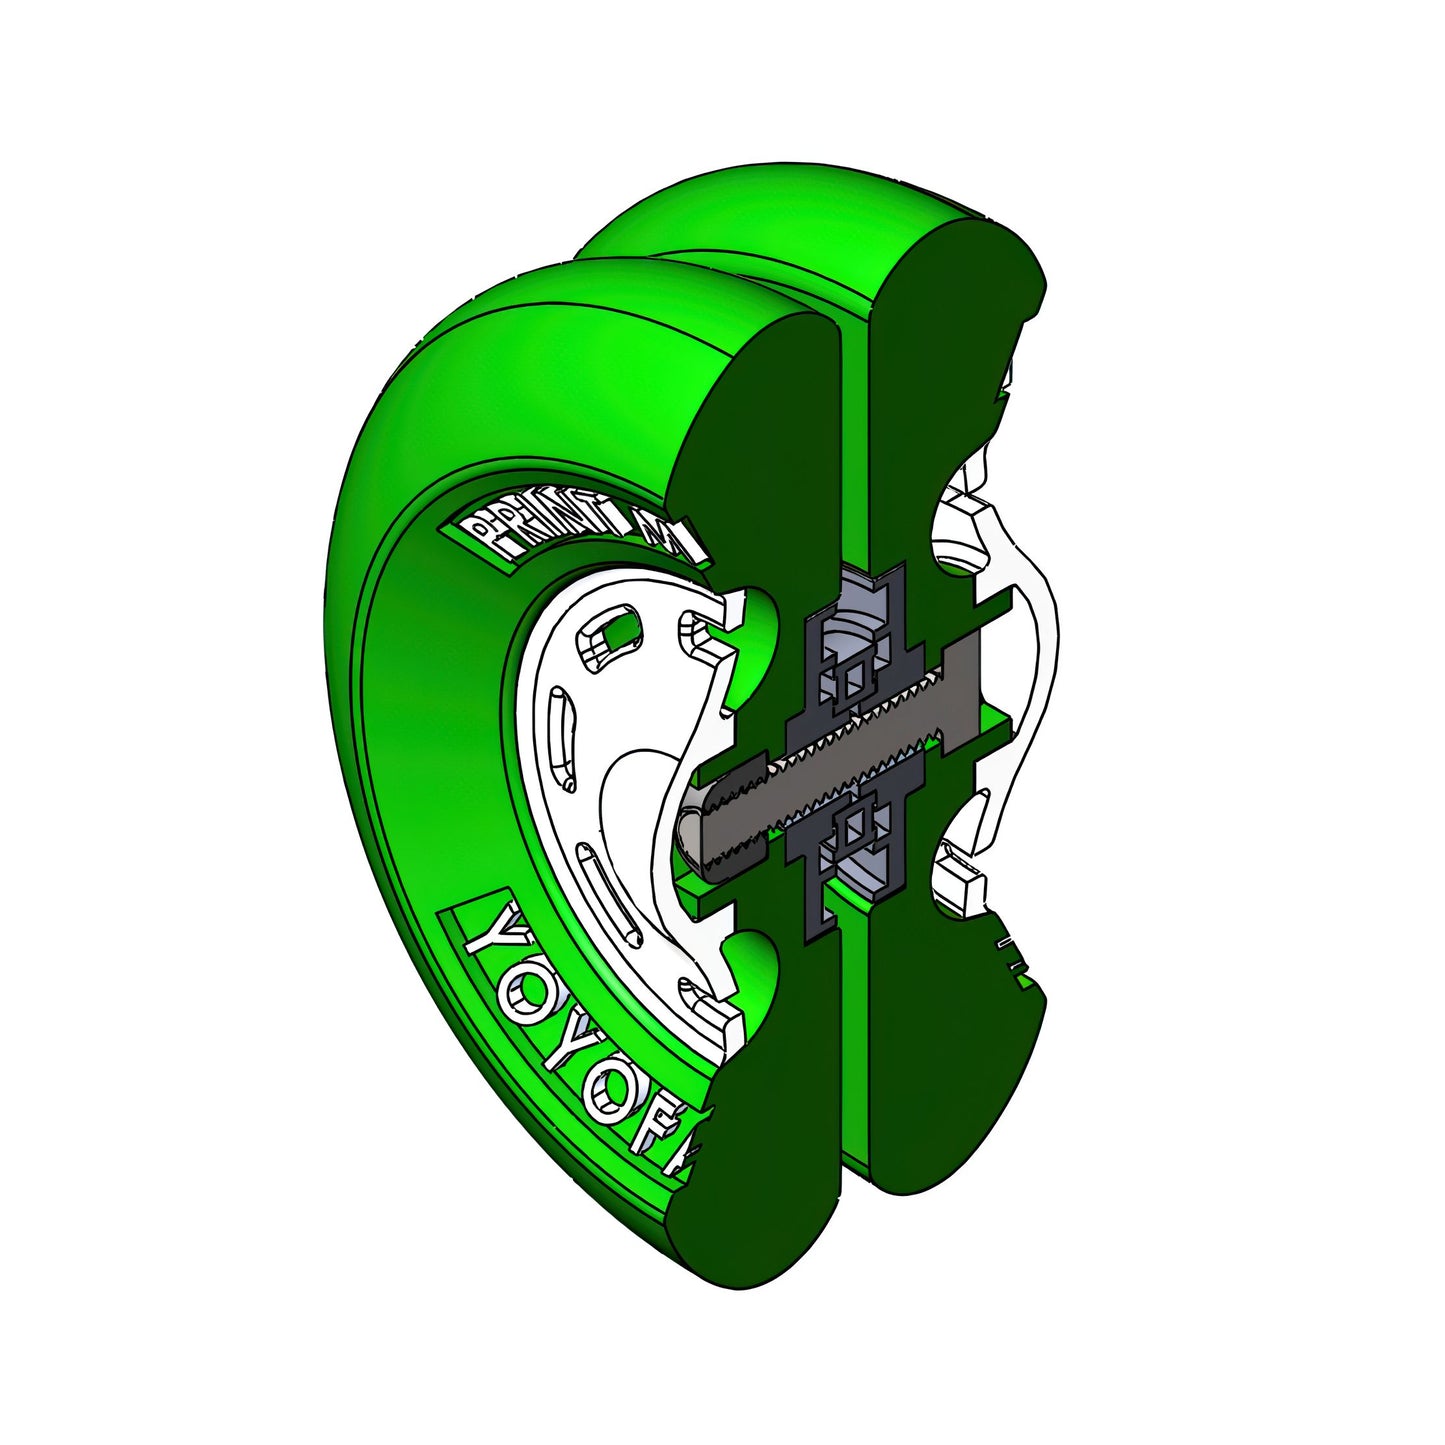
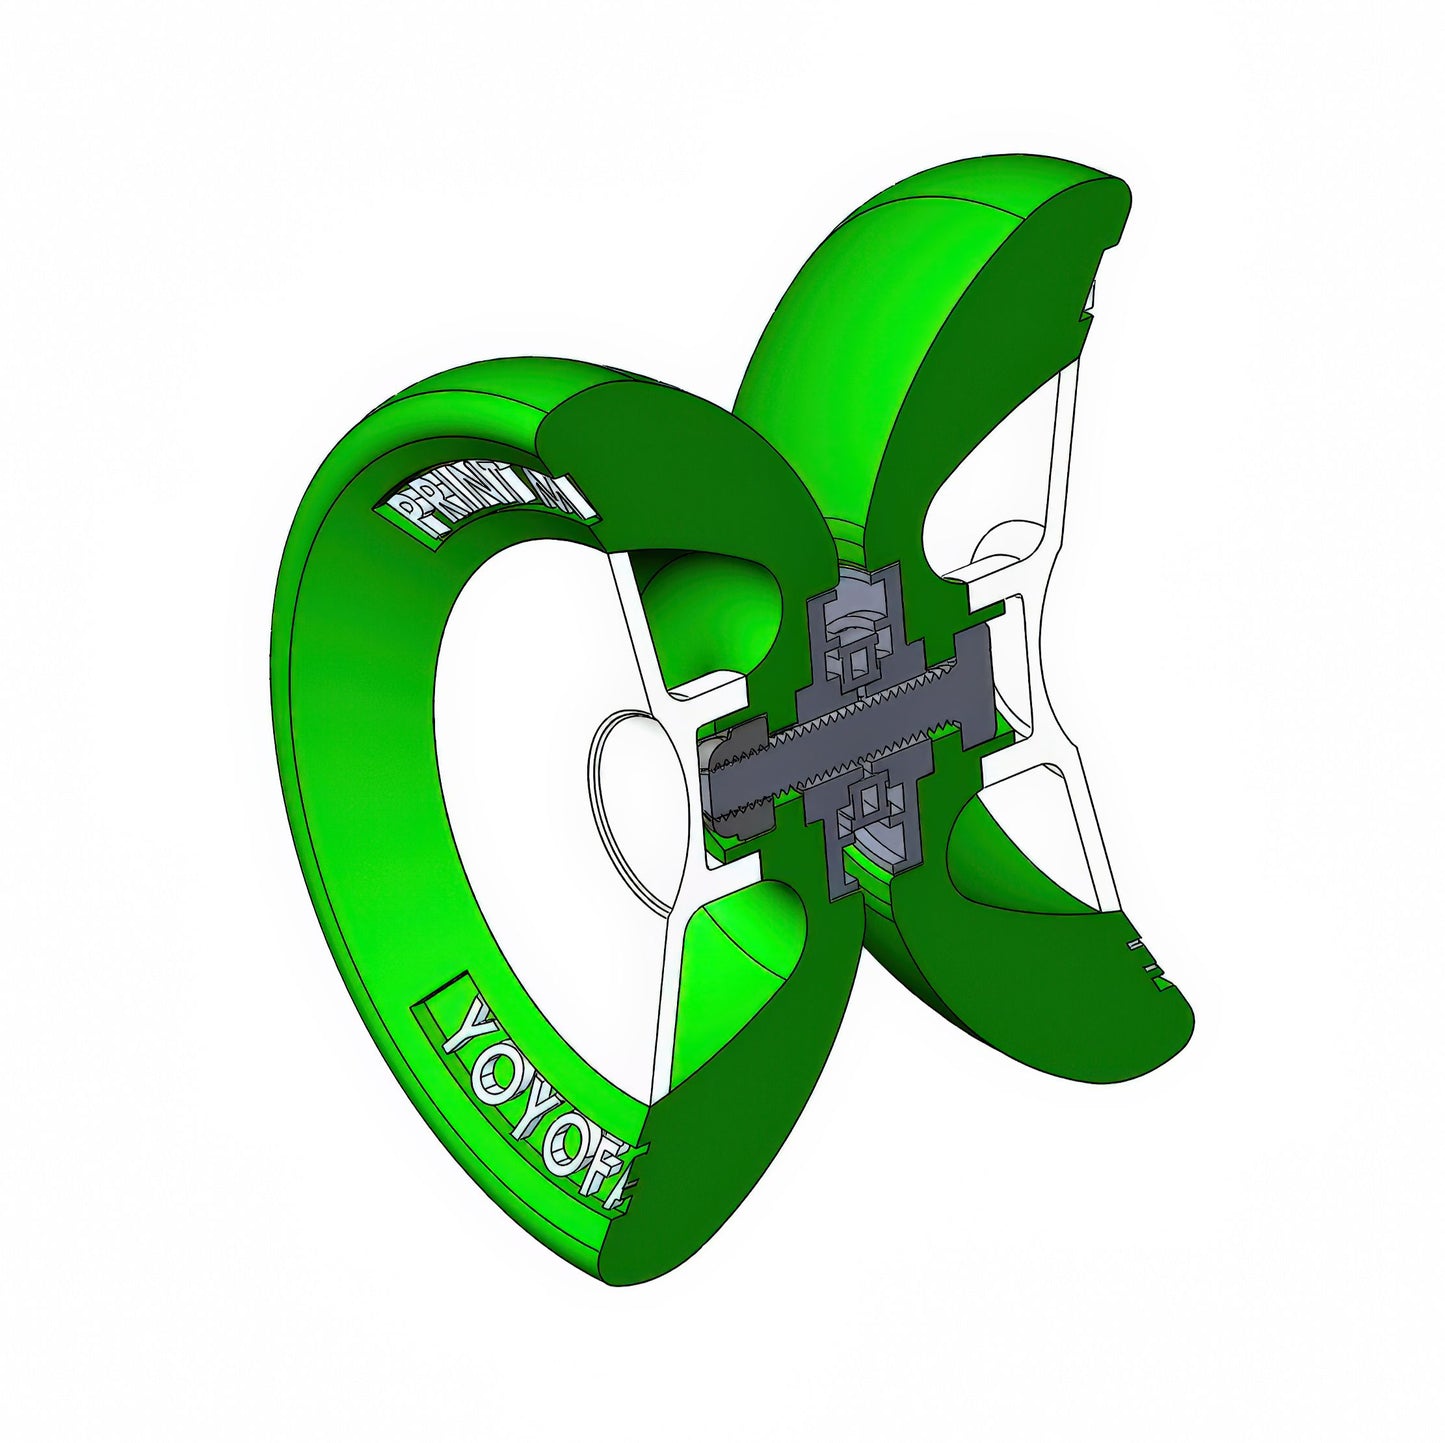
Use Long Screw, thick (wide) bearing, and White Pads. - Stick an axle through 1 half so the hex part of the screw goes into the hex relief, then lay it down so that the yoyo inside wall face up
- Insert the black pad plate, smoother end towards the yoyo half (down)
- Insert the pad of choice into the black plate
- Slip on the bearing of choice on
- Take the other half of the yoyo and stick the nut into the hex relief, and hold it with a finger
- Face it up and put the Black plate's smoother end towards the half you are holding
- Add the pad of your choice
- Now combine the two halfs and gently screw them on to avoid cross threading at all cost
- finger-tight it
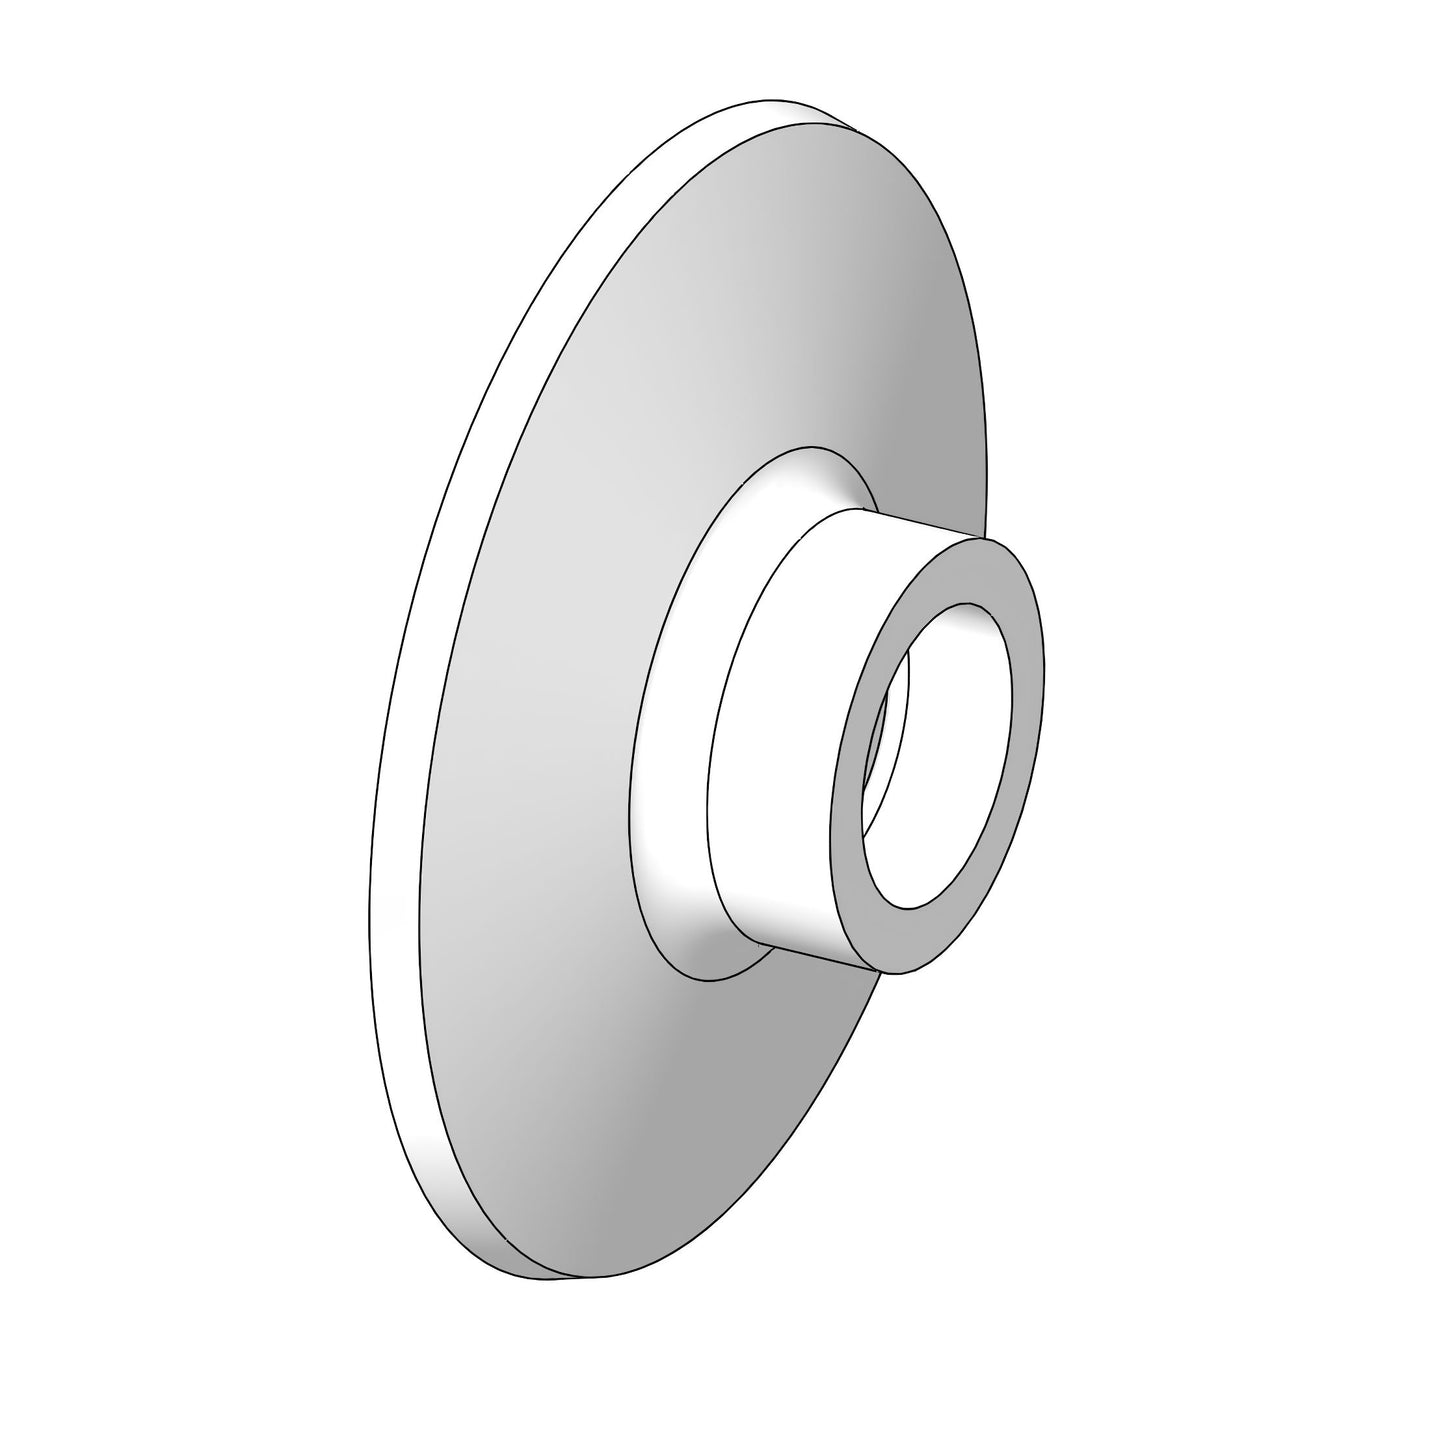
- If you printed the hubcaps, you can click them on now too
- Take the string and split it at the end, creating an opening big enough for the yoyo to go through
- Put the yoyo through it and spin the string to close the opening around the bearing
- Wind up the yoyo, and you are ready to throw!